
We hear the message like a broken record from marketing gurus and big business professionals: video content reigns supreme in the digital space. But between the many other responsibilities advisors juggle to make their clients happy and book epic vacations, there isn’t a lot of time left in the day to learn the complexities of traditional editing platforms like Adobe Premiere Pro or Final Cut Pro. Fortunately, the user-friendly (and free!) graphic design software, Canva, is changing the game with their easy-to-navigate video features. Read on for an overview and basic step-by-step guide of Canva’s content creation capabilities.
Why Video Content?
Most travel advisors understand the importance of leveraging video content on their social media feeds. Not only does this approach to digital marketing connect advisors to their audience by showing a face behind the booking link, but it also presents pertinent information in a digestible manner. Users are much more likely to interact with a marketed message when it’s engaging, and as platforms like YouTube, TikTok, Instagram and Facebook continue to prioritize video content in their algorithms, entertaining posts become easier to access organically. Advisors already wear many hats and it’s not appealing to think about adding another one, but video content proves its usefulness time and time again by providing the highest ROI out of all the marketing tactics in 2025, according to Sprout Social. The process doesn’t have to be laborious, and with Canva, advisors can cut down on the creative commitment while still producing quality content.
How To Create a Video in Canva
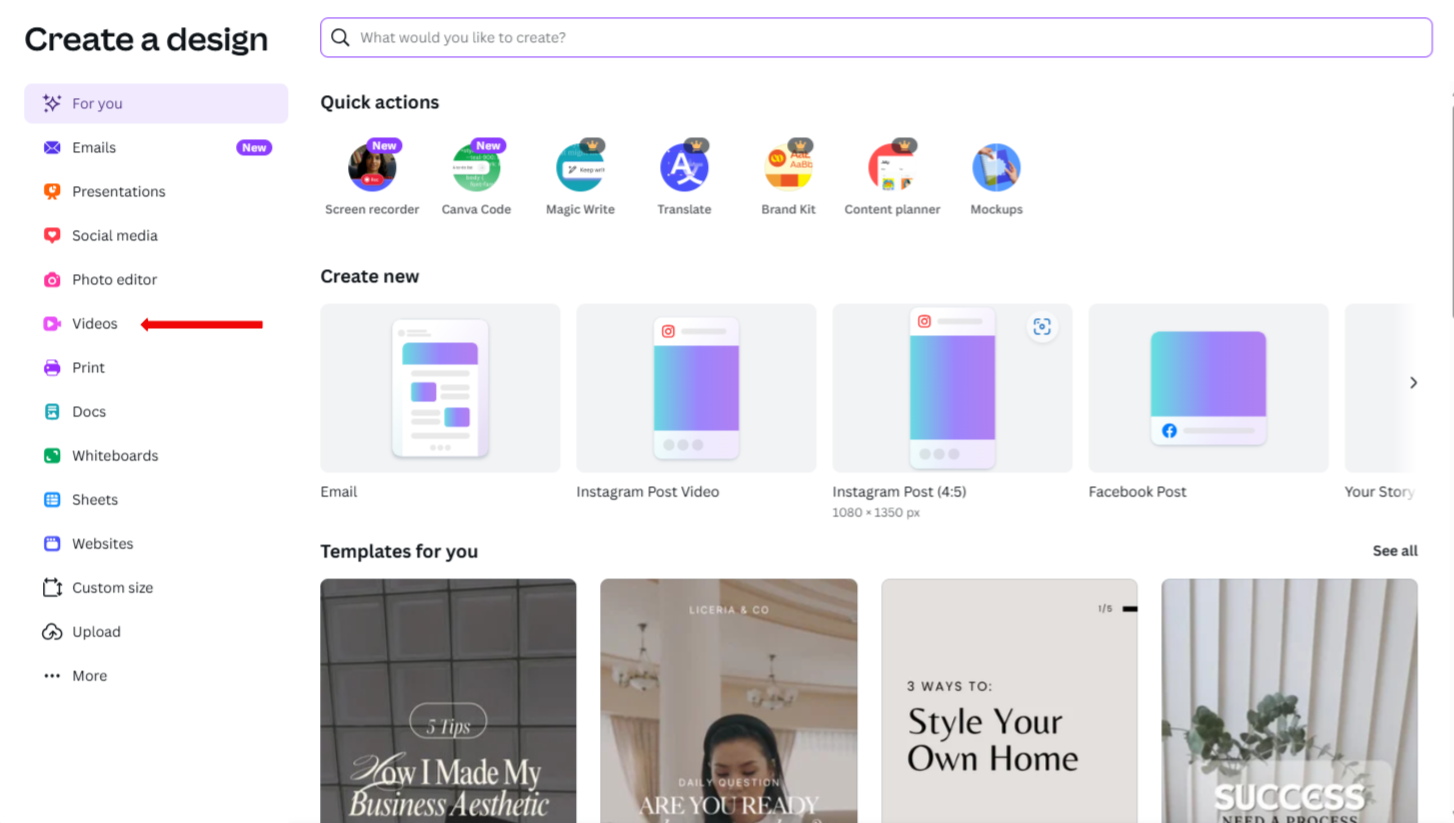
To start creating a video from scratch, users can navigate to Canva’s homepage and select the “create” button in the top lefthand corner. From there, select “videos” and choose your desired template type (i.e. Instagram reel, landscape orientation). Now the design process can begin!
Advisors who want to use pre-made templates can find those under the “design” button on the top left. These tend to incorporate static graphic elements with a video component, as opposed to a reel-like structure. If this is not the creative direction advisors had in mind, they can also import their own clips using the “uploads” button on the left of the screen. This pulls from your desktop, phone or wherever else the content may be stored. Another option is utilizing Canva’s free library of stock videos. Users can navigate to the panel on the left and select “apps.” A “video” option should populate, and upon selection, will display all the available content. Advisors can filter through the library by typing in specific keywords or phrases that match the assets they need.
Once all the clips are added onto the page, they’ll appear as a sequence at the bottom of the screen. This timeline shows the order in which the videos will appear in the final product in addition to any layered animations, text or transitions that are added. The final piece to note is the black vertical line hovering over the string of clips. This is a standard timeline marker that users can toggle back and forth to make edits at specific points in the video.
Editing Video Clips
Now that the content is uploaded, the piecing together of the clips is easier than one would probably think. To reorder the sequence of videos, click the clip you want to move and simply drag and drop it along the timeline to where you want it placed. Clips that are too long can also be trimmed in a couple of steps. First, select the video you want to cut and hover over either the beginning or end sides. A transparent black box will appear, and the mouse will shift into a left-right orientation giving the go-ahead to trim. If users want to remove the beginning segment, they’ll need to pull from the left-hand side in towards the middle. To cut the ending, start from the right and pull in.
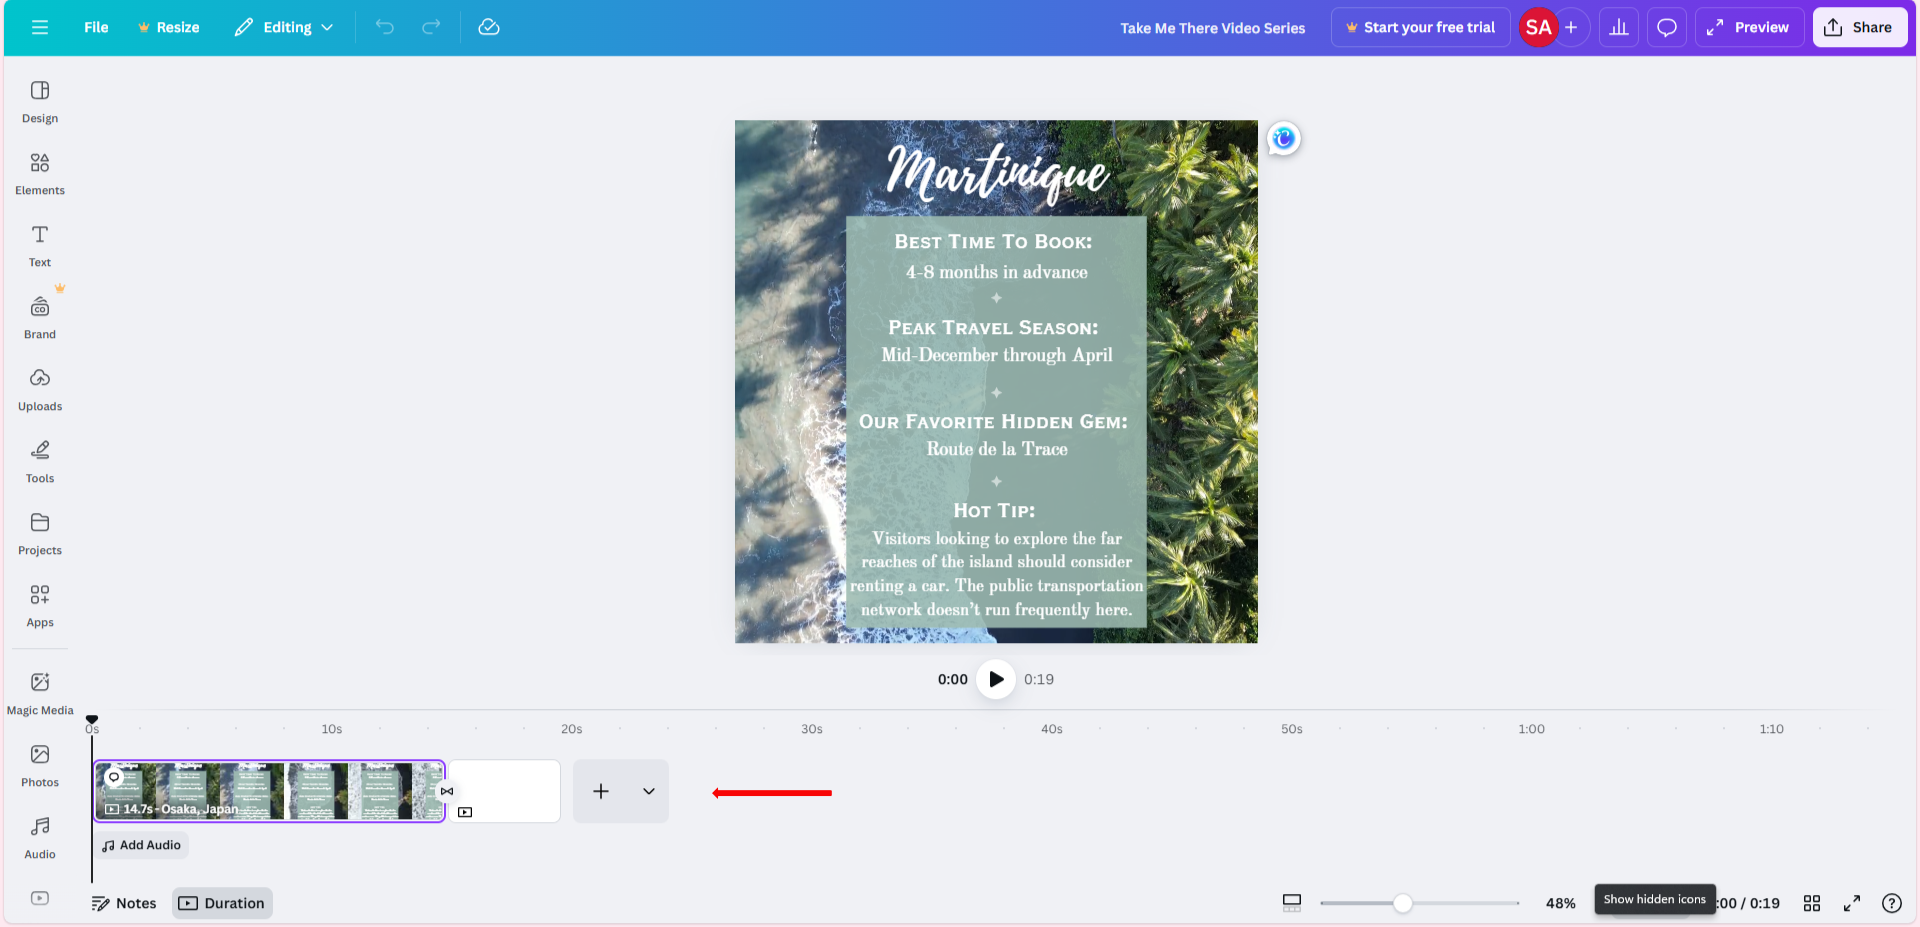
With the clips cut and placed in order, it’s time to add transitions. Move the mouse in between the two clips you want to transition between and navigate to the two buttons that appear in the middle. The top circle with a plus sign in it is a shortcut to add another visual element like a blank video screen or upload a new clip. Below is the “add transition” button. After selecting this, a panel will appear to show users their options, and if advisors hover over each one, they’ll be able to get a preview of how it looks in their production. Choose the transition that best suits the project, and another popup will ask how fast or slow creators want the visual effect to move. These can also be previewed so that advisors can decide on the perfect transition for their clips.
Creating Text Overlays
Avid Canva users who are experienced in designing graphics will find the functionality to be exactly the same when it comes to adding text to a video. On the left side, a “text” icon provides creators with pre-made font combinations to choose from or a generic text box for them to design on their own. Select whichever option fits best for the project and edit accordingly.
At this stage, text sizes, colors, fonts and spacing can all be adjusted using the top bar. Typically, this is where many creators stop when designing static visuals, though an extra step can enhance the text and appeal even further. Pick a text box on the video and navigate to the top panel's “animate” button. A window will populate showing two different types of animation styles. The first moves letters individually and the “general” option moves the text in or out as a whole unit. Once users have their desired effect in place, they can choose to animate the text “on enter,” “on exit” or “both.” This same strategy can be used on other Canva elements in the video like stickers.
Finally, if users are uploading video files with unwanted background audio, this can easily be removed. Right-click the clip you want to edit and select “extract audio.” Canva will pull the track and place it to the audio timeline underneath. Click the track and hit delete.
Adding Audio
The last major component creators need to know about is audio editing. Don’t underestimate the power of even some simple background music — content should appeal to a variety of senses so that watching the video feels natural and immersive.
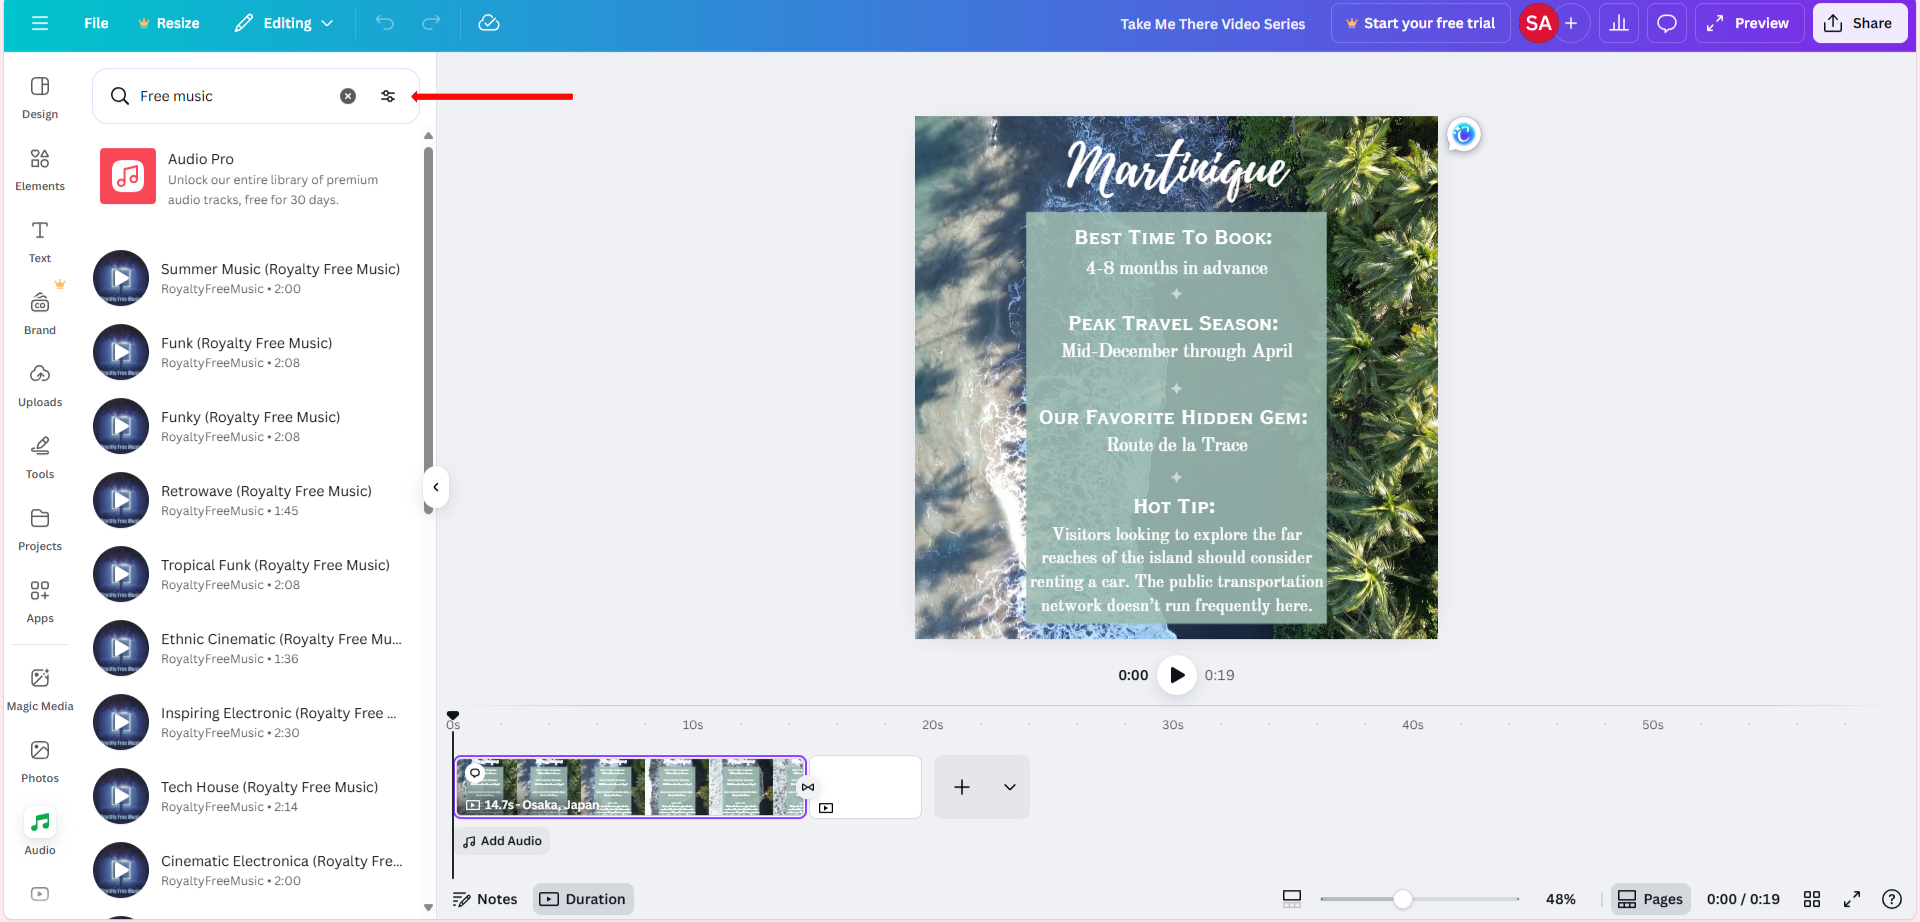
Located underneath the track sequence, users will see an “add audio” button. Once selected, advisors are presented with a few options. First, record a live voiceover using the “record voiceover” toggle; this feature is great for general video content or recorded presentations. Individuals who would rather not cringe-out at their own voice recordings can opt for the “generate an AI voice” button. Simply submit some text for the bot to read and watch Canva’s built-in AI functionality do the work. Alternatively, advisors can also upload pre-recorded tracks. In the same “uploads” tab as earlier, find your files wherever their stored and add them to your library. Canva accepts .wav, MP3 and M4A audio formats; these are rather common and should have all your bases covered.
Editing audio tracks, whether that’s from the free music library or your own voice recording, can be trimmed the same way as video — grab either end of the upload and drag towards the middle to cut dead space or taper the sound. And, to specifically manipulate music tracks and give the final product a professional feel, users can right-click the file and select the three horizontal dots that appear. Select the “fade” option, and Canva will ask for timestamps where you want the music to gradually come in out.
About the Author


comments